How to send a picture using the snipping tool in Ozeki Chat
How to send a picture from Snip & Sketch via Ozeki Chat (Easy steps)
To send a picture from Snip & Sketch via Ozeki Chat
- Open Snip & Sketch
- Create or Select the Picture
- Edit (Optional)
- Save the Image
- Open Ozeki Chat
- Select the Contact
- Start a Conversation
- Attach the Picture
- Wait for Upload
- Download at the Receiver's End
How to send a picture from Snip & Sketch via Ozeki Chat (Video tutorial)
In the following guide, we will walk you through the simple process of sending a picture from the Snip & Sketch app via Ozeki Chat. Sharing Images can be a great way to communicate with your contacts. Whether you want to share an old picture or a screenshot with Snip & Sketch, through Ozeki chat you can send it without any borders. This step-by-step guide provides clear instructions to learn the process of sharing pictures using Ozeki chat.
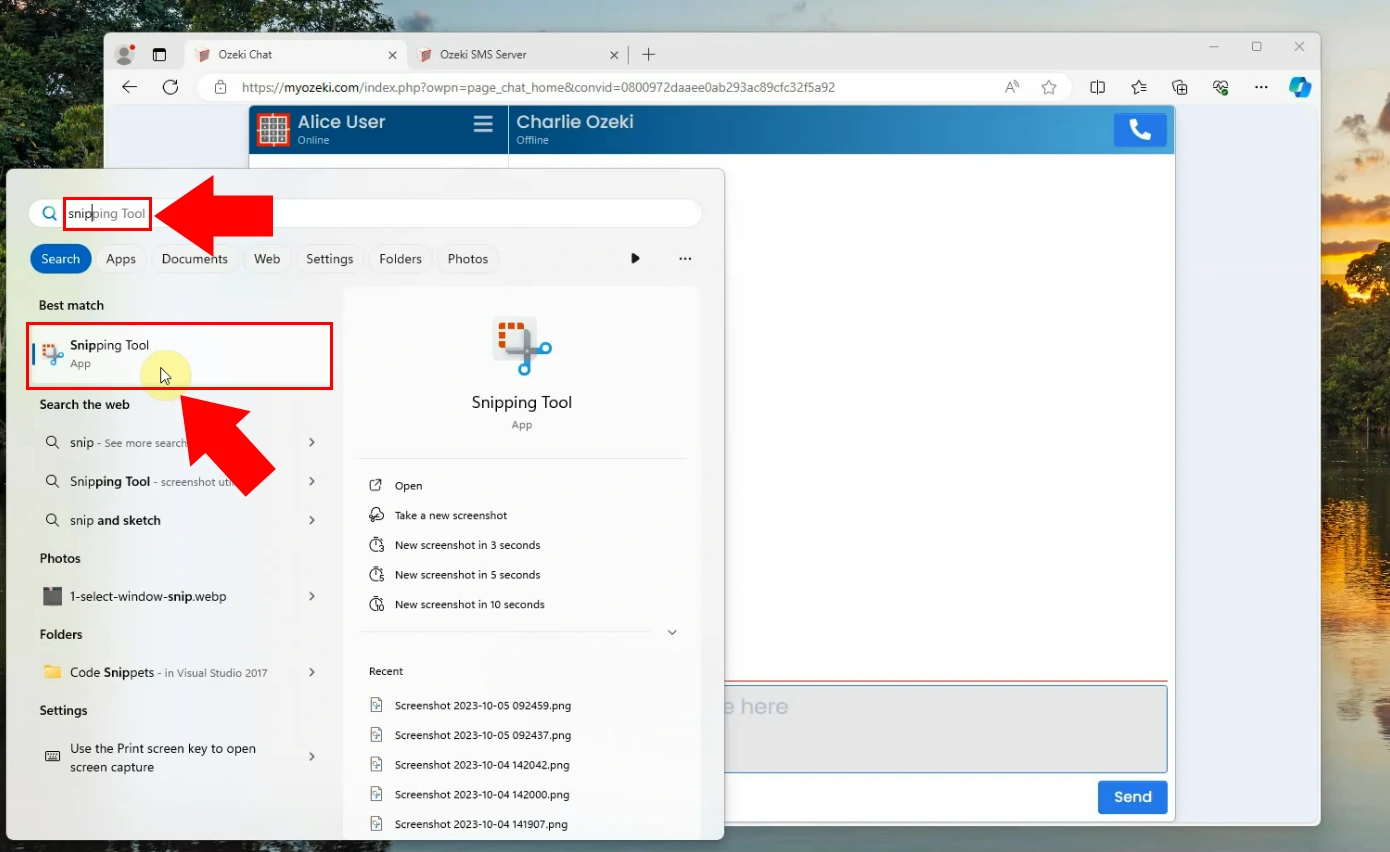
To take a screenshot of a selected part of the screen, please search for the Snip & Sketch function of Windows 10. To find the tool you could press the "Windows" button on your keyboard and start typing "Snip". It will find the program. You can see the search process on Figure 5.
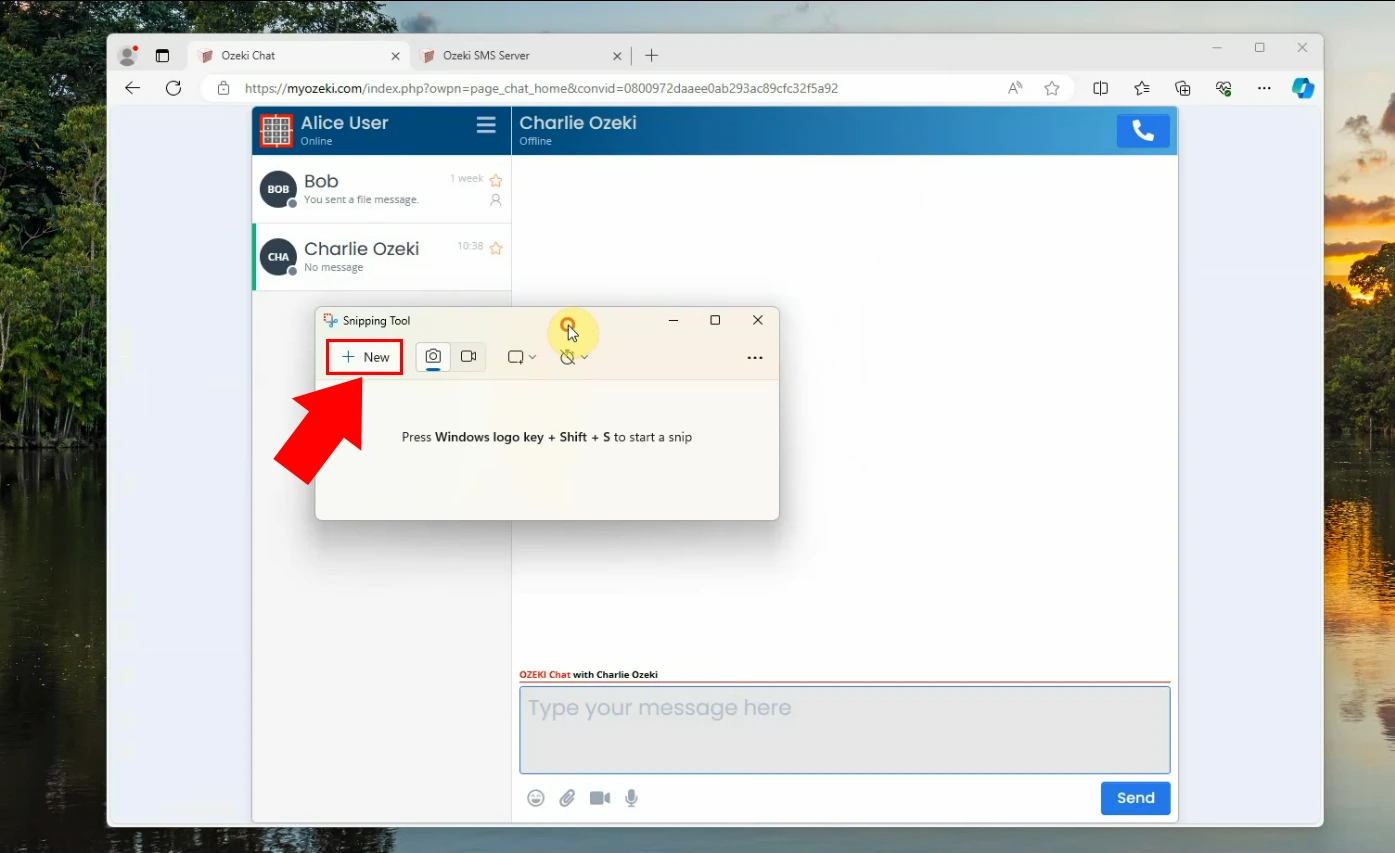
When the program opened, you will see a blue button on the upper left side of the window titled “New”. If you press that button, you will see your screen without the Snip & Sketch. You can find the button on Figure 6
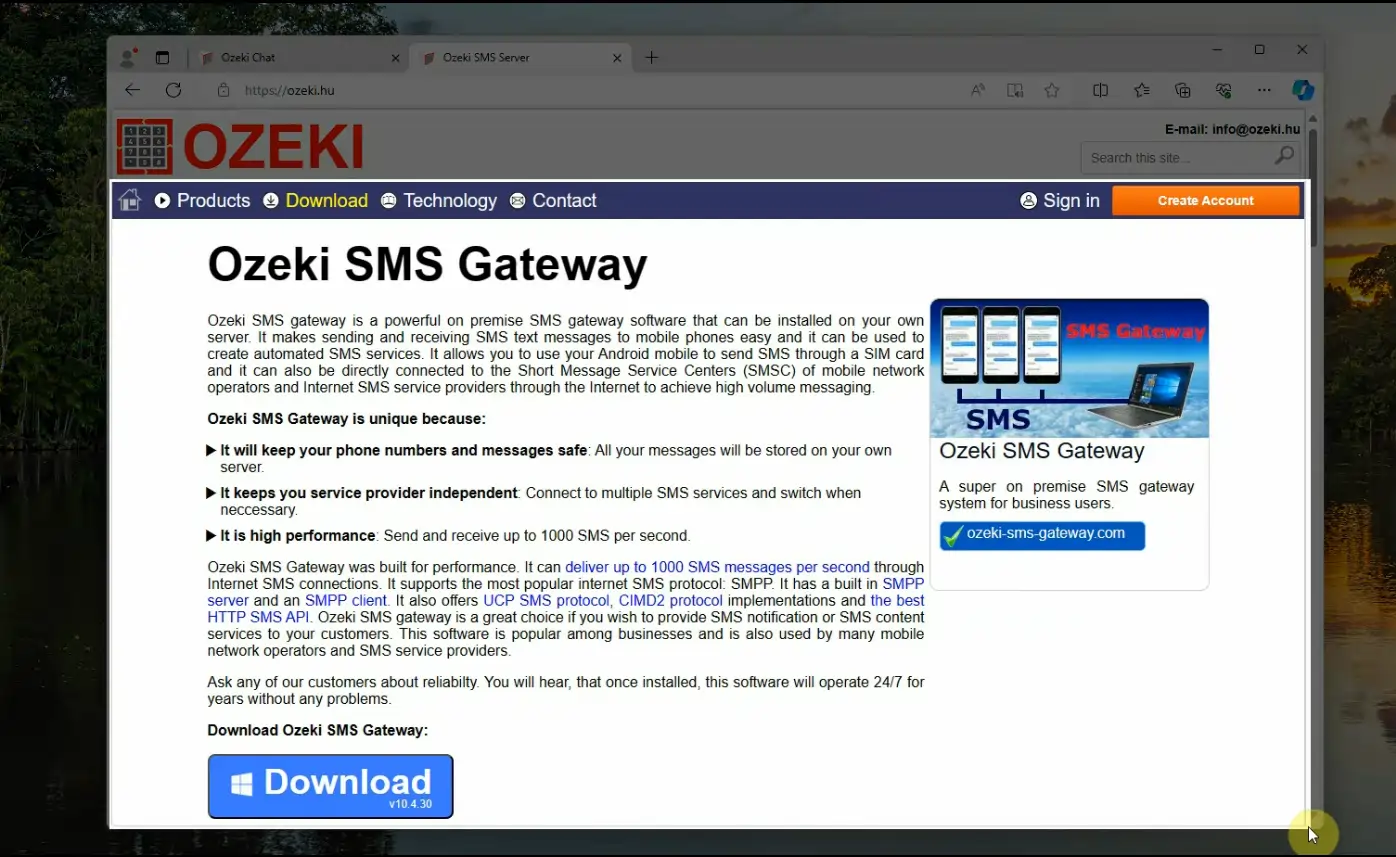
Now you can see a slightly darker version of your screen. From the upper left corner of the chosen area, drag a square to the down-right corner. The pictured area will be the brighter one. It will snip it and open it in the editor. You can see the picture taken in Figure 7.
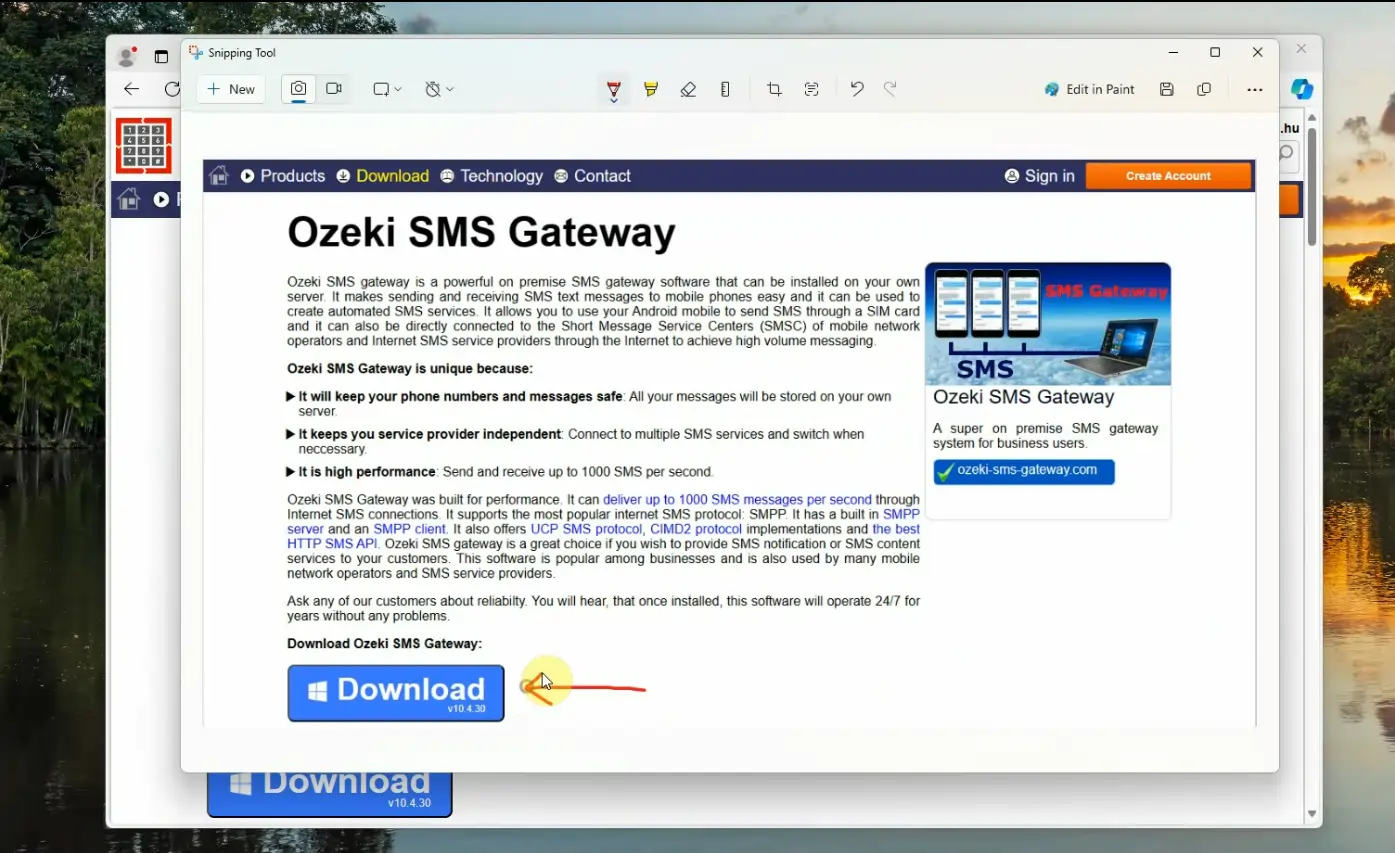
Now your picture is in the editor. It is also stored in the Clipboard of your computer (The clipboard, also known as pasteboard, is a special location in your computer's memory that temporarily stores cut or copied data from a document. Once something is stored in the clipboard, it can then be pasted to a new location). Here in the editor, you can modify your pictures. You can make it brighter, darker and you can draw on it. You can see the edited picture on Figure 8.
Now you are ready to send the image to your chat partner. To do that, head over to the Ozeki Chat, and open the conversation with the other user. To paste in the picture from the clipboard, please press “Ctrl + V”. Now the Chat will start to upload the file to the server. You can see the keyboard combination on Figure 9.
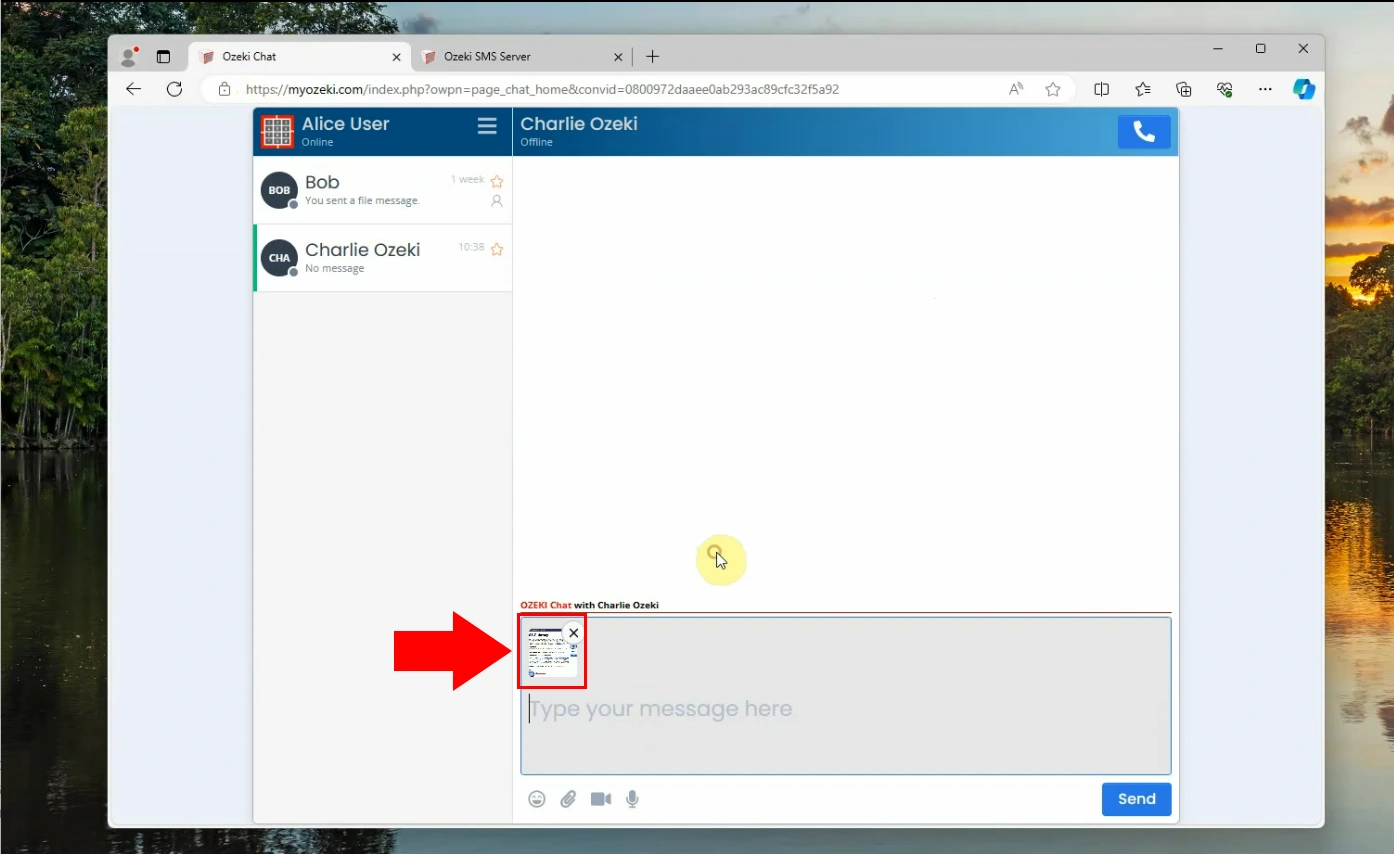
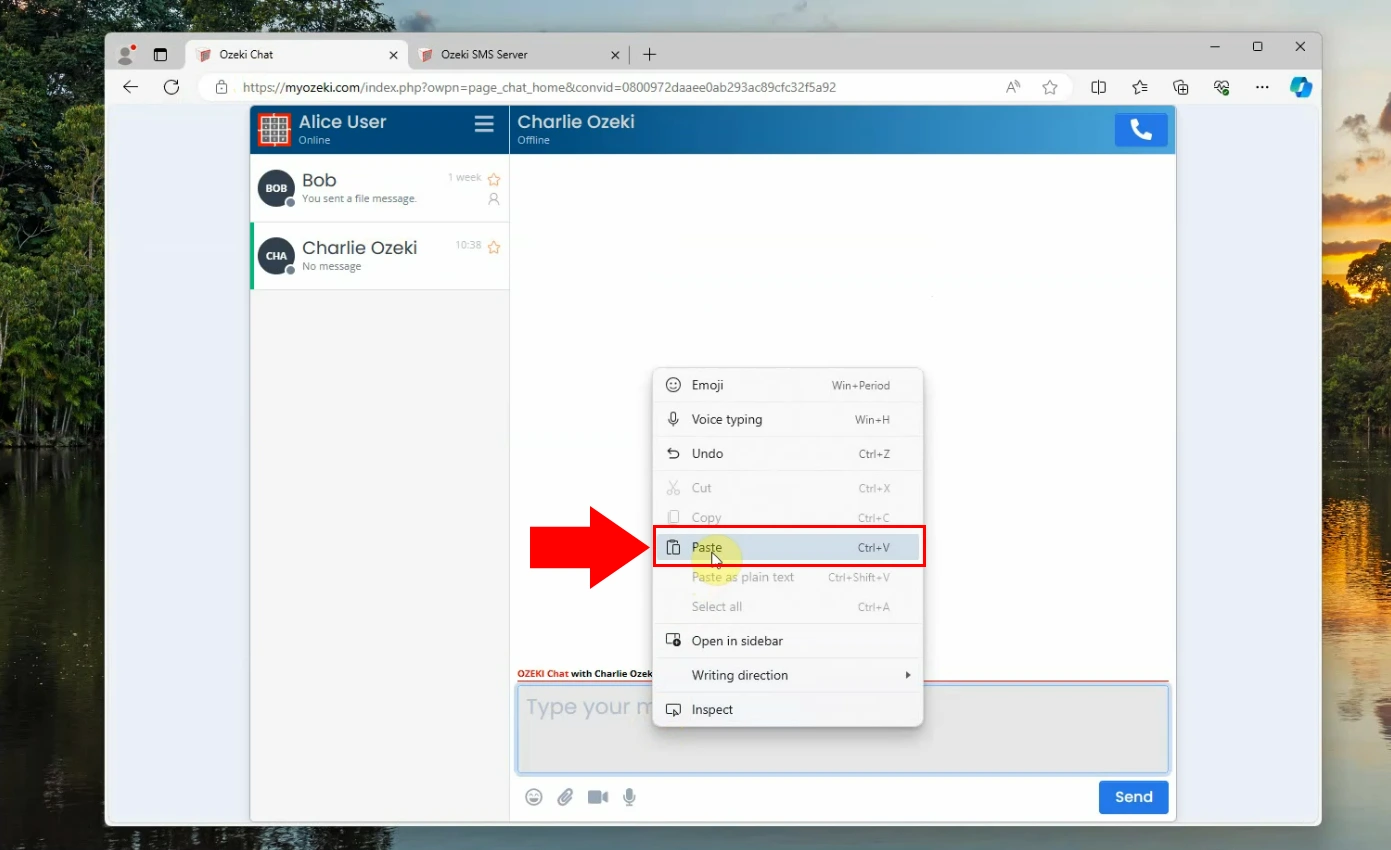
Another method to paste in the picture is to right-click the message filed in Ozeki Chat. Here you will have two options as you can see on Figure 10. Choose “Paste” to insert the image into the message bar.
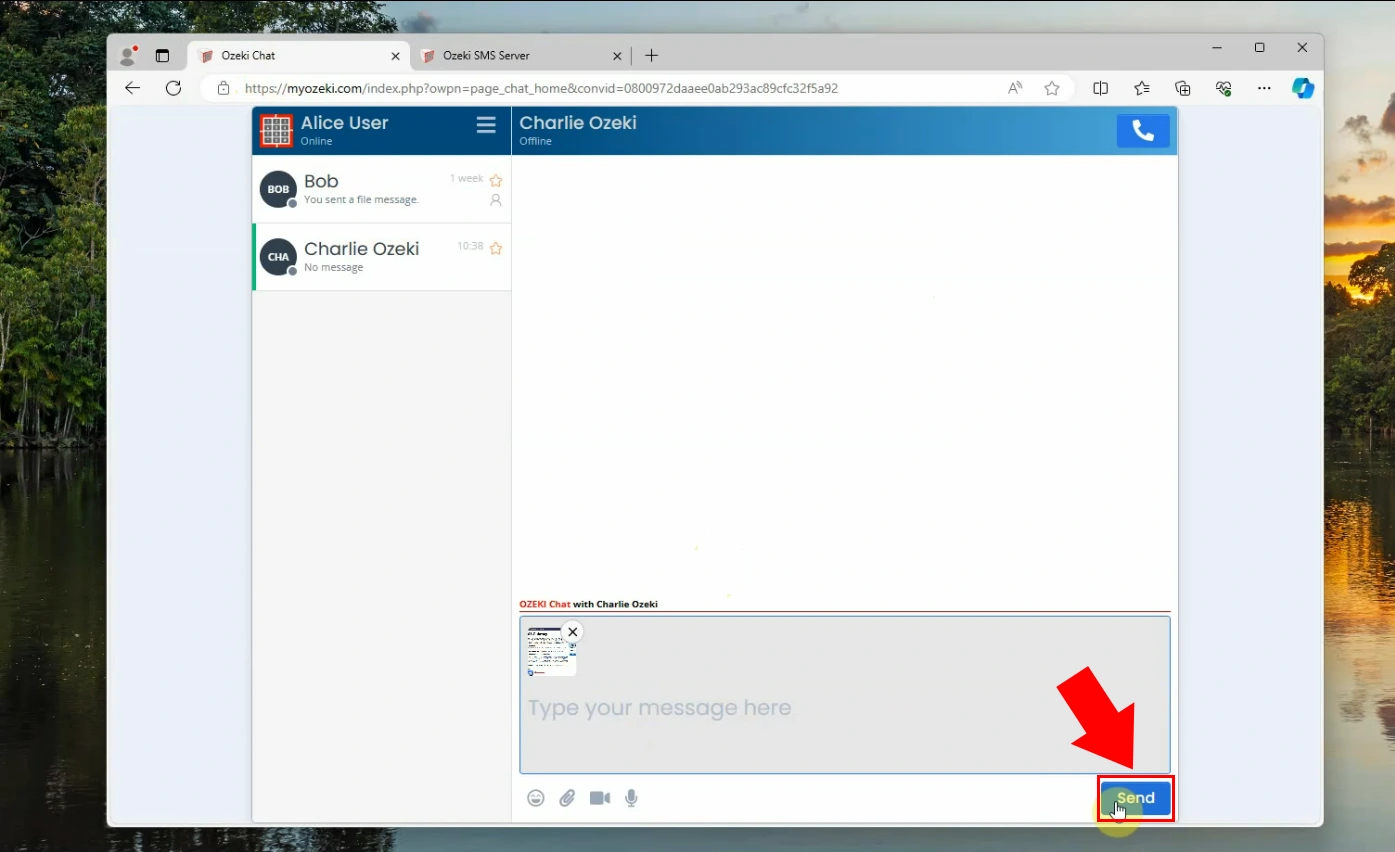
Now if the line next to the picture is green, it means that it is successfully uploaded to the server and it is ready to send. Click the “Send” button to forward it to the addressee. You can see the send ready message on Figure 10.
Tips
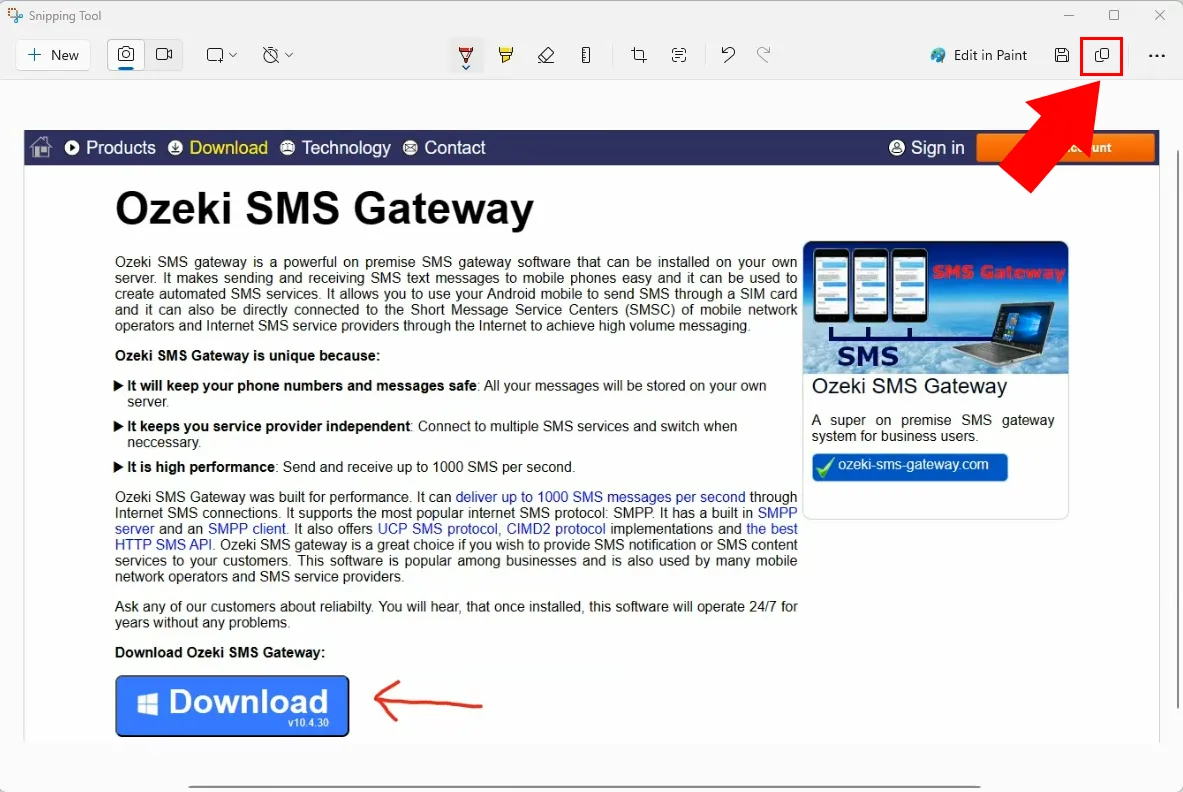
If you have edited the picture, the clipboard only contains the original picture, and your drawings or writings will not be visible for you chat partner if you send the picture. To update your picture, please search for the button you could see on Figure 12. This button will copy your picture into the clipboard with your editing. Now you could continue with the steps, but with your edited photo.
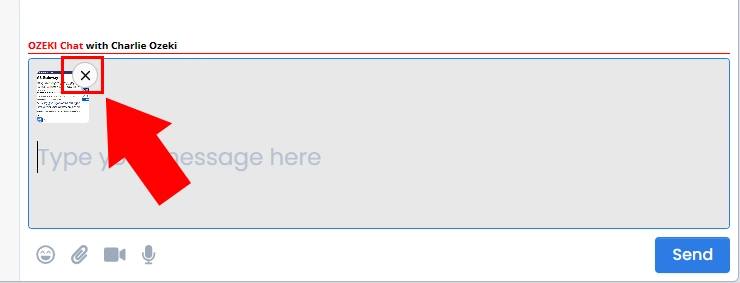
If you have pasted the wrong picture into the Ozeki Chat, you could click the red “X” on upper-left side of the screen to delete the picture. You can find the red “X” on Figure 13.
Summary
Ozeki chat offers a valuable, high-performance chat system, that is easy to use for everyone. This tutorial provides step-by-step instructions on how to send files and pictures through Ozeki Chat, making communication with chat partners easier. If you have followed the instructions, then you gained all the necessary knowledge to share files via Ozeki chat. We hope that this guide was helpful. If you have any problem with any of the steps, feel free to contact us at info@ozeki.hu
More information
- How to send a file in chat using the attach icon
- How to send a file in chat using drag and drop
- How to send a file in chat using copy paste
- How to send a screenshot of the active window (Alt PrtScr)
- How to send a screenshot using a snipping tool in chat
- How to send a pdf in chat
- How to send a picture file as a chat message
- How to receive and download a file message in chat
- How to delete a file messag in a chat

